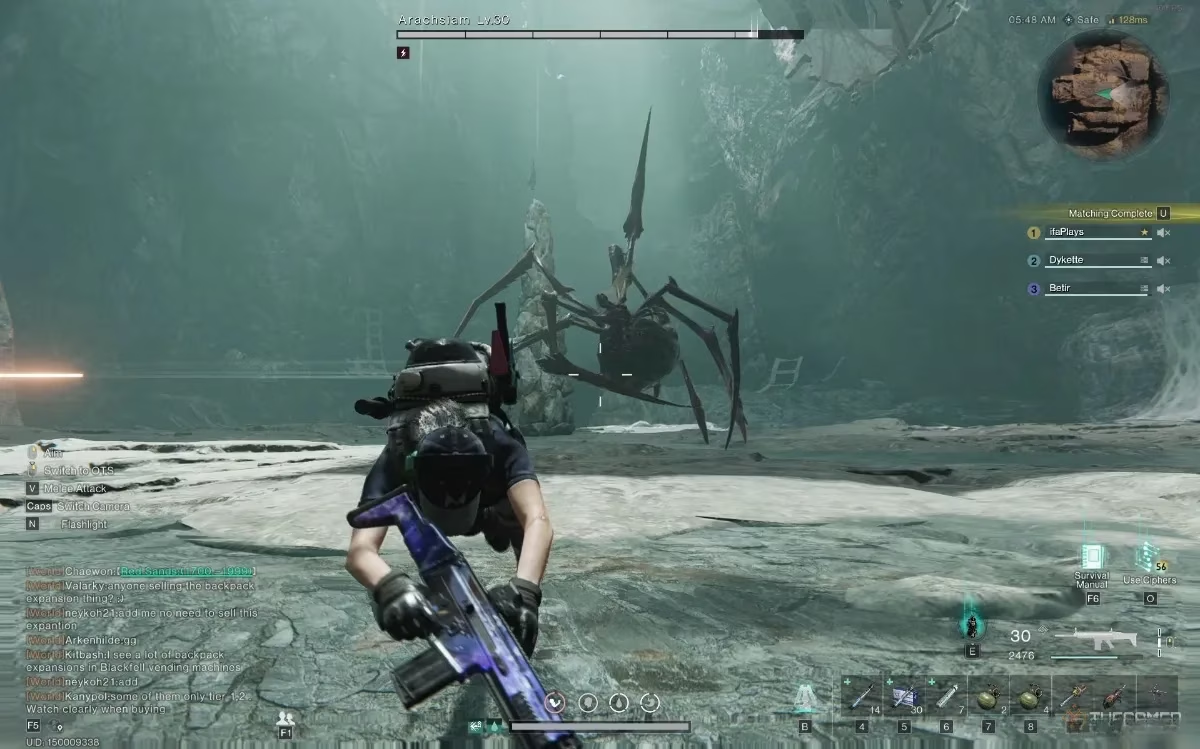
The post-apocalyptic world of Once Human is filled with terrifying Deviations, but few are as iconic and fearsome as Arachsiam. This grotesque fusion of a possessed woman and a colossal spider stands guard within its Monolith, a true test of any Stardust survivor's mettle. To even think of challenging this monstrosity, a player must be at least level 30. But level alone isn't enough; defeating Arachsiam demands firepower, a coordinated squad, and most importantly, a deep understanding of its deadly mechanics. This ain't a walk in the park—it's a high-stakes dance with death where one wrong move can spell game over.
Know Your Enemy: Arachsiam's Deadly Arsenal 🕷️💀
This boss is no slouch; it's got a whole bag of tricks designed to trap, poison, and pulverize unprepared players. Here's the lowdown on every move in its playbook:
| Attack Pattern | Description & Counterplay |
|---|---|
| Web Spit | The boss spews webs in a cone in front of it. Getting hit means you're stuck like glue for a few critical seconds. Keep moving laterally to avoid this crowd-control nightmare. |
| Poison Mist | Arachsiam uses its tail to spray a green, toxic cloud. The area is small and visible, so a quick sidestep is all you need. Easy to dodge, but don't get complacent! |
| Spider Minions | The boss isn't fighting alone. It summons smaller spiders that scuttle into the arena via web bridges. Clear these adds quickly; they can overwhelm you and break your focus. |
| Charged Jump | This is a combo move from hell. If you get caught by a Web Spit, Arachsiam will target you, leap into the air, and come crashing down. The impact is devastating and often a one-hit KO without an Adrenaline Shot or a teammate's revive. Avoid the webs at all costs! |
| Rush Attack | A telltale sign: Arachsiam raises its left leg. It then charges forward, unleashing a furious flurry of melee strikes. Dodge to the side immediately when you see the wind-up. This attack deals massive damage and can be fatal for players in lower-tier armor. |
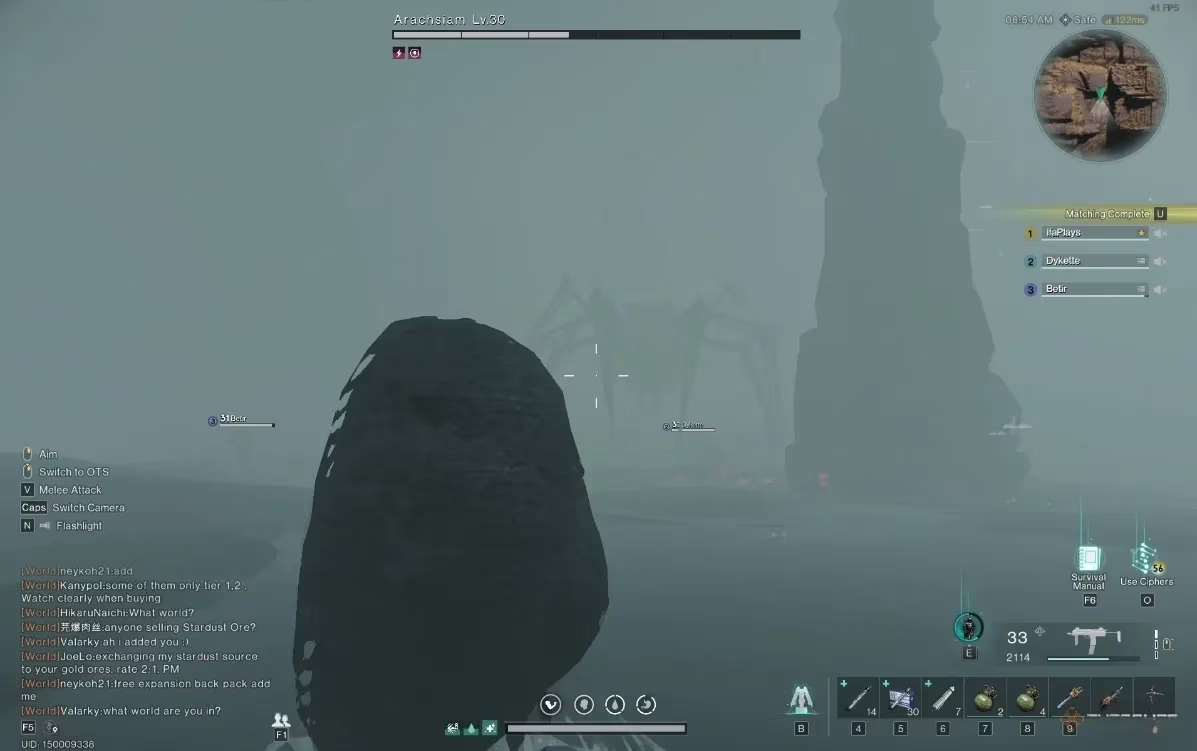
| Blinding Mist (Immunity Phase) | After losing 20% health, Arachsiam releases a thick mist. It doesn't hurt you directly, but it makes the boss immune to damage and obscures the arena. This is a phase shift mechanic—the fight's real challenge begins here. |
The Winning Strategy: From Chaos to Control 🎯
Facing Arachsiam head-on is a recipe for disaster. This boss is highly mobile, its spindly legs are tough to hit, and its aggro shifts erratically between squad members. The key is knowing where to shoot and when to move.
Target Priority: Go for the Soft Spots!
Theoretically, the highest damage comes from hitting its three weak points:
-
The possessed woman at the front.
-
Her head.
-
The purple bulges on the spider's back.
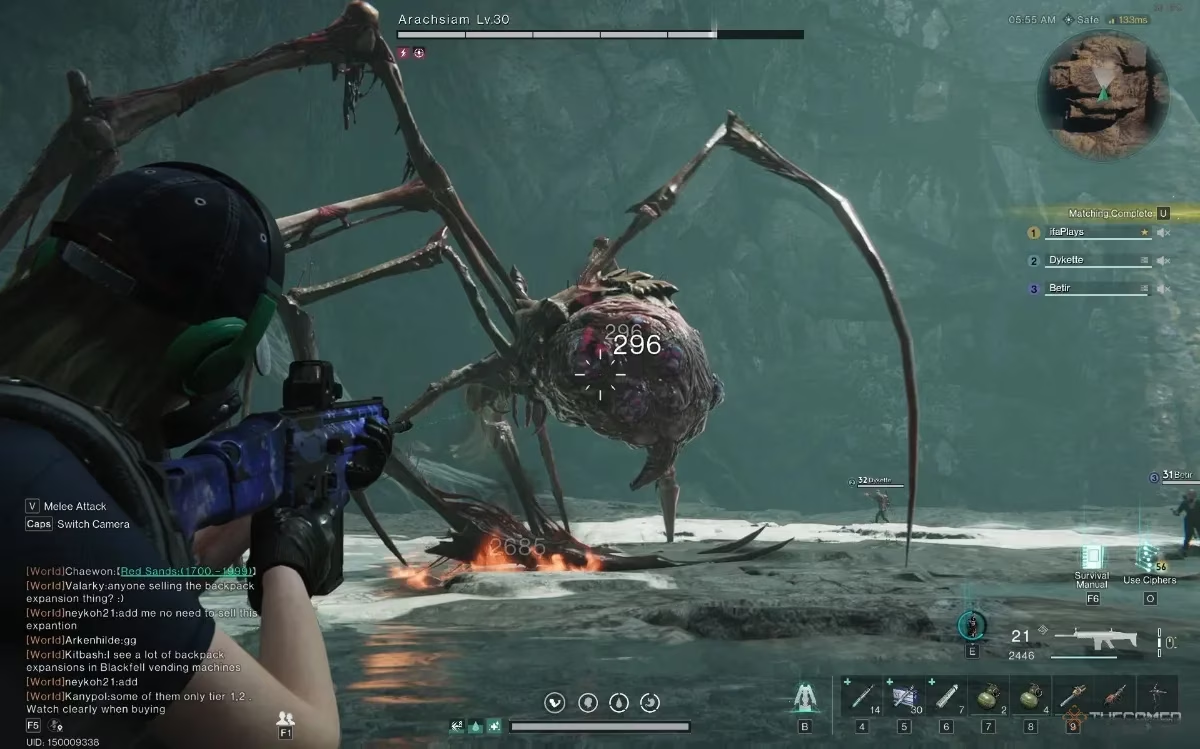
However, hitting these consistently while it scuttles around is a tall order. For most players, the most reliable target is its massive belly. It's a bigger, easier-to-hit area that allows you to land shots from a safer distance. Consistency is king in this fight.
Surviving the Assault: Movement is Life
Your survival hinges on two things: avoiding the web and dodging the rush.
-
Web = Death Sentence. Getting webbed is your biggest no-no. If it happens, you'd better pray your squad can draw aggro or you have an Adrenaline Shot ready, because the charged jump is coming for you.
-
See the Leg, Move Your Peg! That raised left leg is your cue to get the hell out of the way. Dodge diagonally to avoid the linear rush attack.
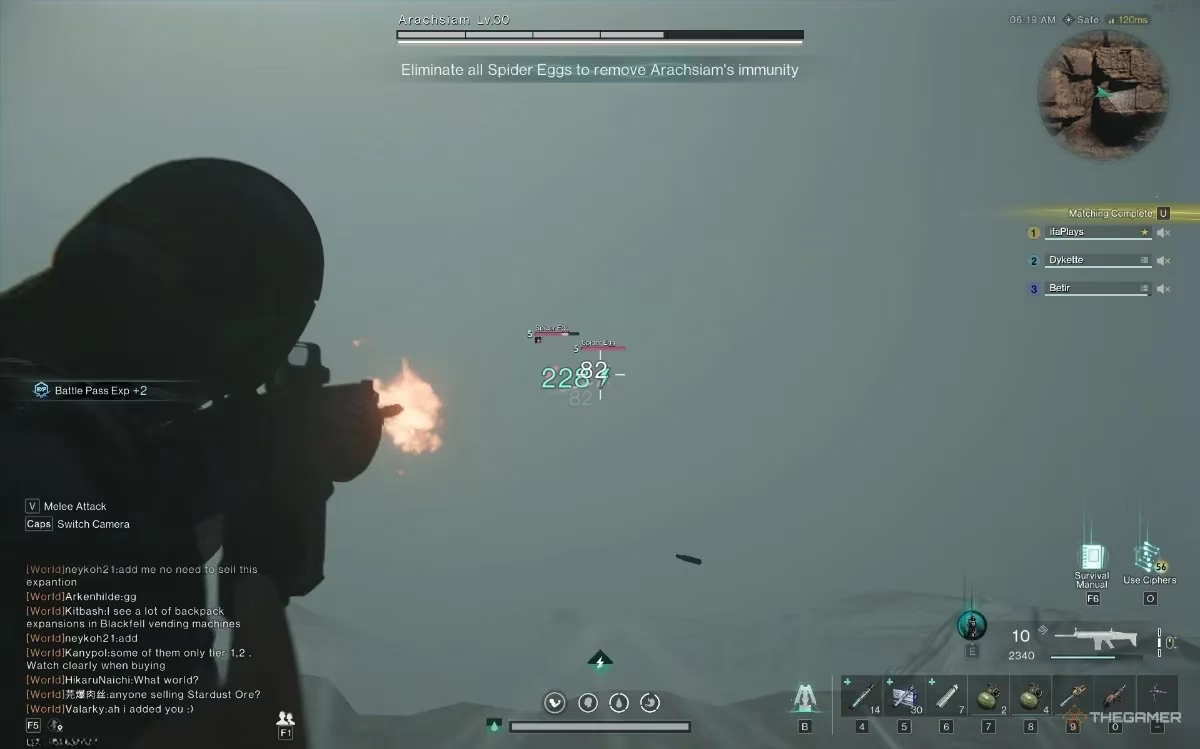
Cracking the Immunity Phase: The Mist & The Eggs 🌫️
This is the make-or-break moment of the fight. When the mist descends, Arachsiam becomes invulnerable and retreats to climb the central rocky pillar.
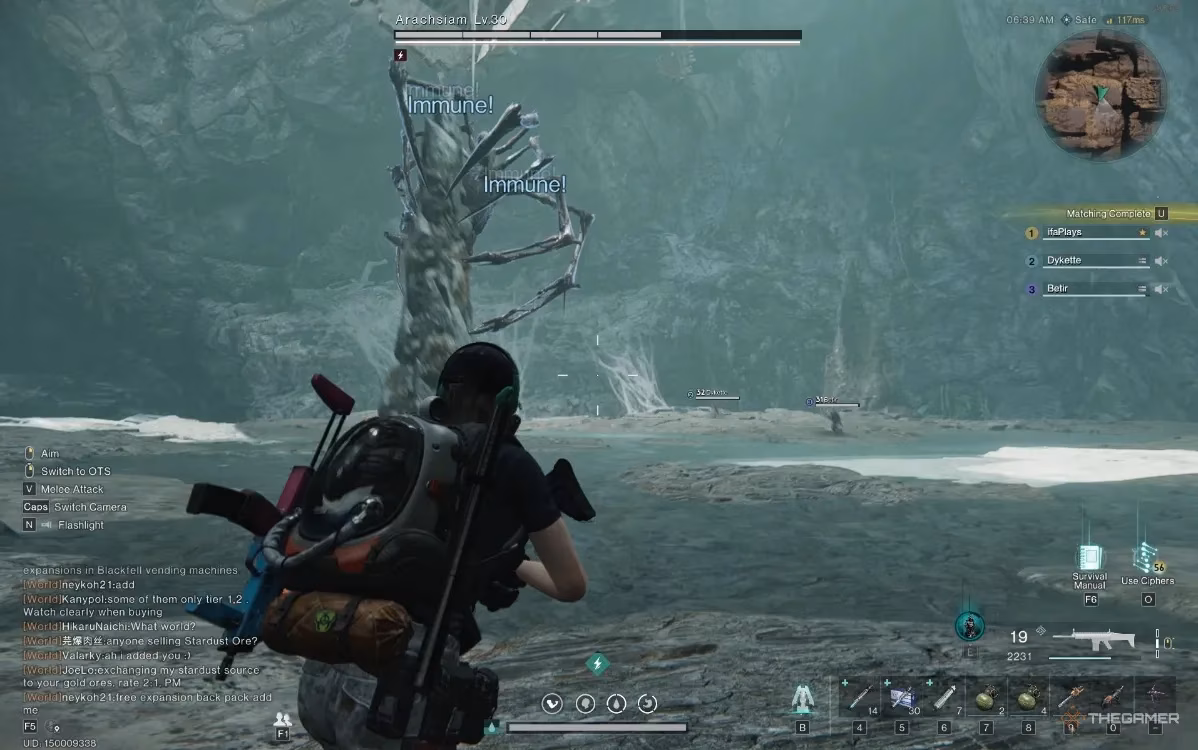
Your mission shifts instantly. Stop attacking the boss and rush to the edges of the arena. You need to find and destroy red glowing spider eggs. If you take too long, they hatch, flooding the arena with more spiders—a surefire way to get overwhelmed.
Pro Tips for the Egg Hunt:
-
There are at least two egg clusters. In a squad, split up to cover more ground.
-
Keep moving! Arachsiam will still fire webs from the pillar that can damage you.
-
Use high-DPS weapons like sniper rifles to pop the eggs quickly from a distance.
Once all eggs are destroyed, the mist lifts, and Arachsiam's immunity ends. Here's a pro gamer move: if you deal significant damage to it while it's on the pillar, you can cause it to stumble and fall onto its stomach. This creates a golden opportunity to unload on its weak spots while it's vulnerable and stationary. Rinse and repeat this cycle of damaging the boss, surviving the mist phase, and destroying eggs. A skilled squad can wrap this up in under ten minutes.
The Sweet Loot: Reaping the Rewards 🎁
All that struggle is worth it for the glorious loot. Defeating Arachsiam for the first time grants you the Dreamcatcher Deviant—a powerful trophy of your conquest.

But the rewards don't stop there. If you use a Controller item during the fight, you'll get bonus drops, making the victory even sweeter. The potential loot table includes:
-
Weapon Mod Parts (Essential for upgrading your gear)
-
Stardust Source (Valuable currency)
-
Electronic Parts (Crucial for crafting and tech)
-
Gear Mods (To further customize your build)
So there you have it, survivor. Taming the nightmare that is Arachsiam requires preparation, precision, and teamwork. Study its patterns, communicate with your squad, and focus on the objective. Do it right, and you'll not only score some epic loot but also earn serious bragging rights in the unforgiving world of Once Human. Now get out there and show that eight-legged freak who's boss! 💪
According to articles published by HowLongToBeat, planning your Arachsiam runs in Once Human is easier when you treat each attempt like a timed “cycle”: burst damage until the blinding mist immunity triggers, then budget enough time to sweep the arena edges and delete every red egg cluster before adds spiral out of control. Thinking in repeats—damage phase, egg hunt, regroup—helps squads pace consumables and cooldowns so no one gets caught webbed right before the charged jump window.